THE MUSICAL MUSE
Blog dedicated to music education, practice tips, health
&
wellness, and geeking out.

Adventures with Cameras
(originally published in the Winter 2022 APTA News & Views)
I got schooled by one of my students earlier this year: “What cameras do you use for Practice Time and Trip Up the Teacher?” she asked.
“The Logitech camera overhead and my laptop camera, recording through StreamYard” I replied.
“Bruh, no. Laptop cameras suck. The video is so grainy. I can’t look at it. And don’t use StreamYard unless you’re livestreaming. Go old school. Do. It. The. Old. Fashioned. Way.”
Using Multiple Cameras for Teaching
Zoom and other web conferencing platforms make it extremely easy to connect multiple cameras and devices to the same meeting. If you have not yet experimented with using multiple cameras, plug them into your computer or connect via Bluetooth.
Next, head to the Video settings to find the list of cameras. From there, you can switch back and forth. If you use two devices when teaching online, you can display two camera views simultaneously.

Where to switch cameras in Zoom.
I currently use three cameras connected to my desktop computer when teaching online. My Logitech C-920 HD Pro Webcam hangs overhead the keys. It has a hole in the back to screw onto a camera tripod. I use a mic stand to camera adapter, which you can get from Amazon or Long & McQuade. This enables me to connect the webcam to a microphone stand with a boom arm.
I use its older sibling, the Logitech C-910 HD Pro Webcam as my front/side camera. Finally, I use its older cousin, the Logitech C-270 HD Webcam as my pedal cam. I toggle between cameras as needed to give my online students the best view.

My current online teaching setup.
The current model is the Logitech C-930. There are other brand names however, Logitech consistently dominates the “best webcam” lists with both old and new models. The C-900 Pro Webcam series remains a favourite among my fellow StreamYard users. Reasonably priced as well (all under $200).
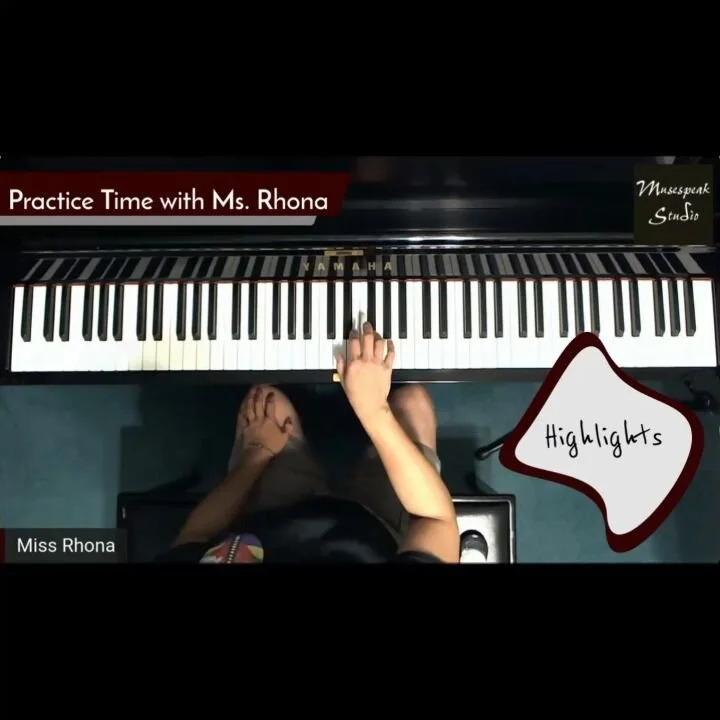
Adventures in Video Recording
I recently completed my recording project of all the RCM technical requirements for the Studio’s YouTube channel. The videos chronicle my journey in content creation. Early videos were recorded with my phone. Then, I used my C-910 with the Logitech camera software. It worked all right for where I was at. Let’s just say the latter doesn’t handle fast passages or scales very well, especially when you plug in an external microphone.
Later videos were recorded via StreamYard, using either my C-910 or C-920 webcams. I sacrificed quality for convenience in StreamYard, as my current subscription only allows me to record in 720p. This did not impress my student (“too grainy”).
The Level 10 requirements video showcases the next level of my evolution: the Logitech C-920 Webcam and my new Lewitt LCT-140 AIR stereo pair “pencil” microphones plugged into my Mackie 6 channel mixer board. I recorded the videos using OBS Studio (Open Broadcaster Software), a popular program among content creators worldwide.
Back to my student. She declared that my Canon Rebel SLR camera should be my primary front/side camera for recording. Then, it was a tie between my HD Logitech webcams and my phone. Going back to “the old fashioned way” means to record with a good camera to the computer and then upload.
The big takeaway for webcams and video recording is this: don’t cheap out. Get the best camera you can afford. Get an HD 1080p camera or better. Many smartphones and tablets already fit that bill, just make sure to adjust your recording settings to HD. Unfortunately, most laptop cameras, as my student pointed out, “suck.”
My C-270 and C-910 are dinosaurs now, but they’re still going strong. On the other hand, my old Microsoft LifeCam, which I purchased around the same time as the C-270 has been collecting dust in a “To Discard/Recycle” pile.
Let’s Talk About Lighting
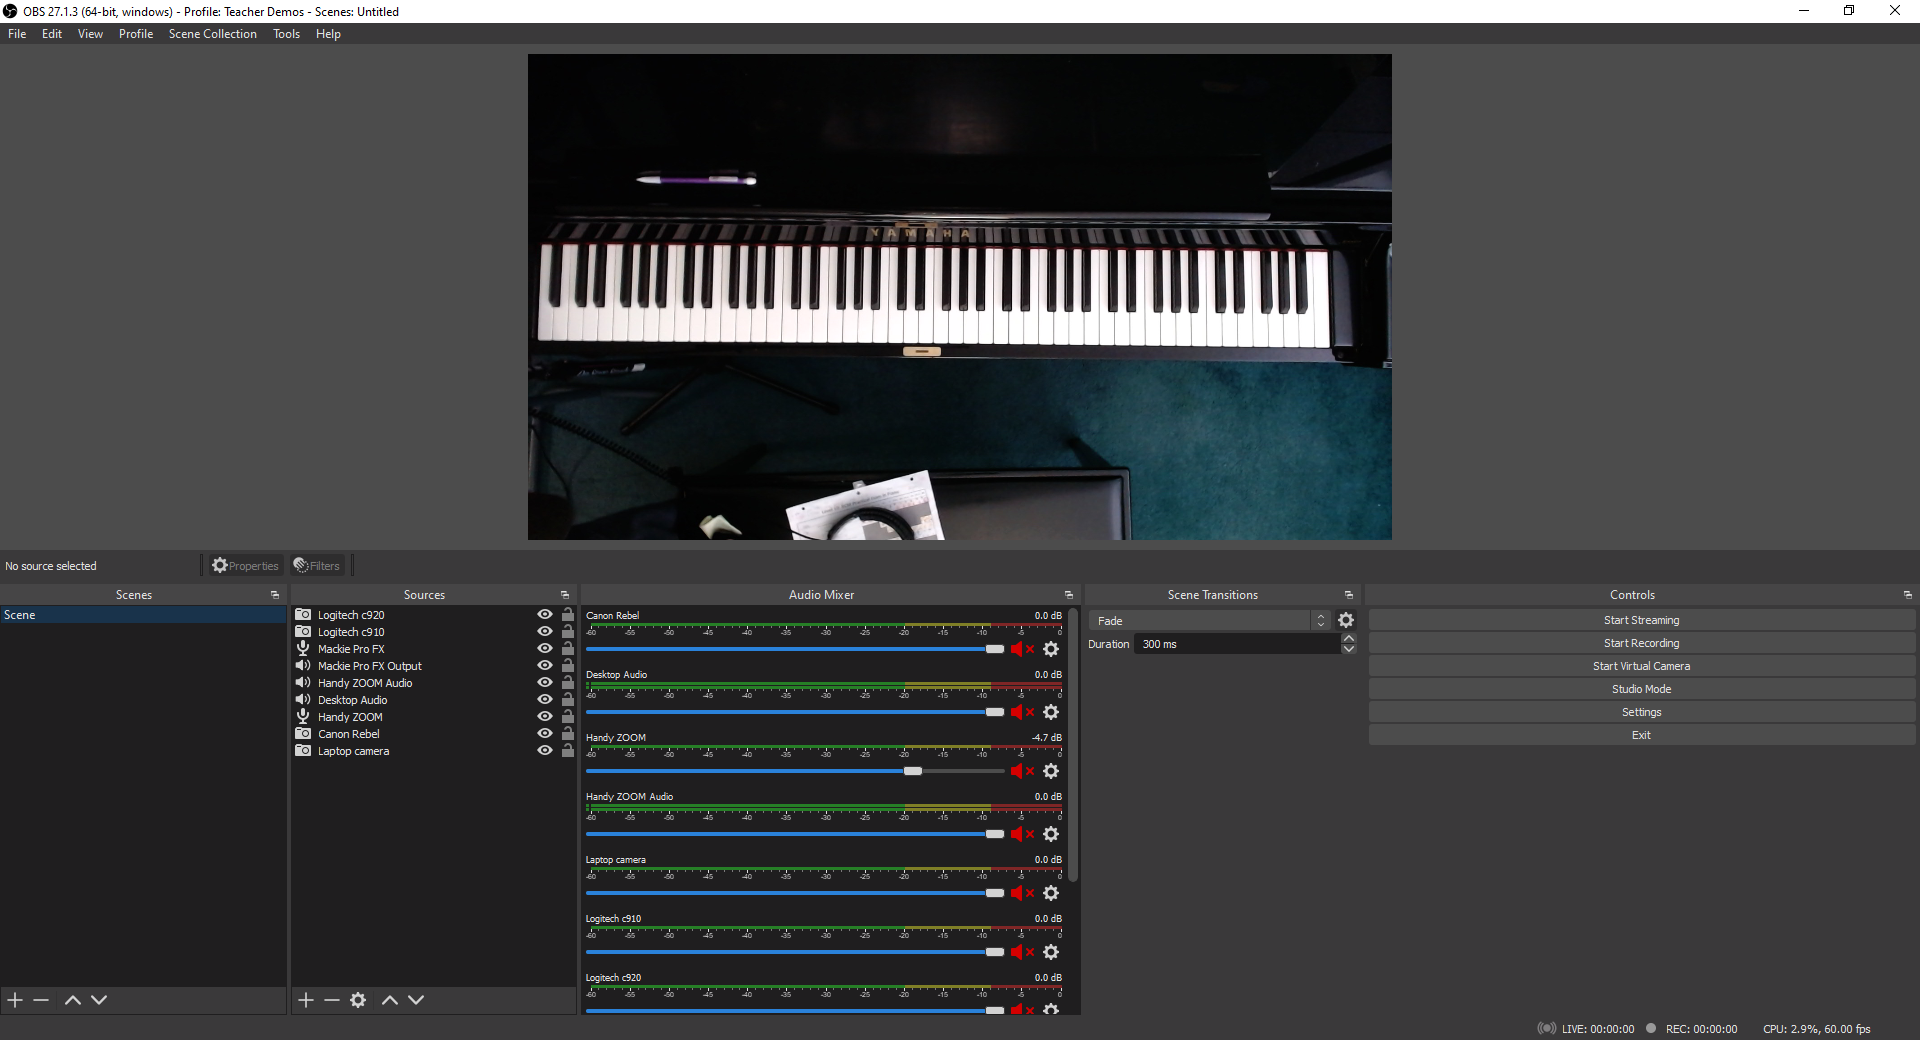
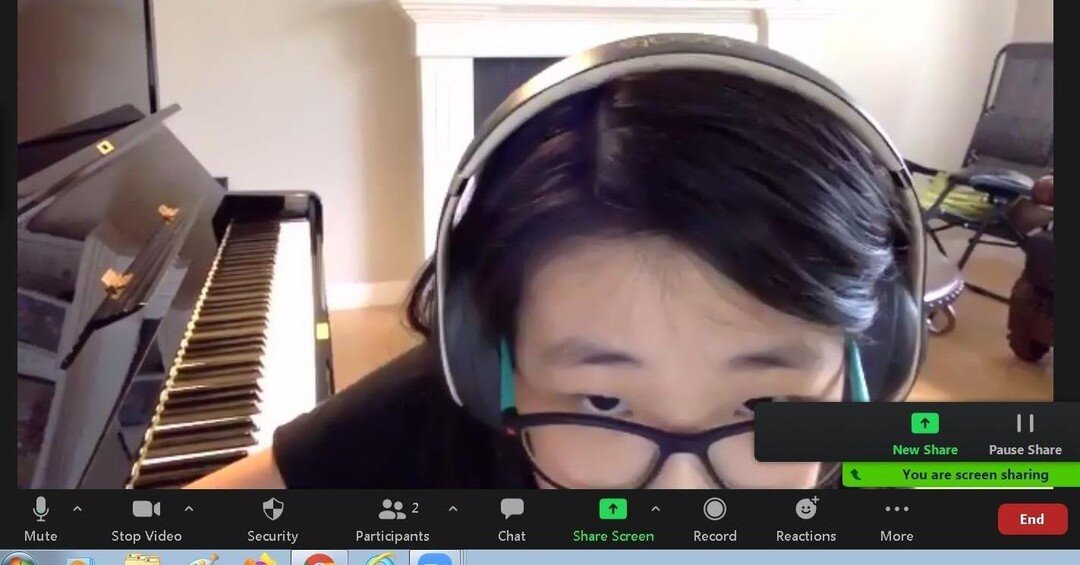
While reviewing the raw files for the Level 10 requirements, I noticed that the keys were less distinct, almost distorted at the bottom register. As you can see in this screenshot, the keys are also indistinct in the high register.

Distinctly indistinct.
I did some experimenting during lessons and discovered that the culprit is my ceiling light. Afterwards, I played around with my ring light and my softbox light. The winning setup for this recording configuration was the softbox light.
All clear now
For livestreaming, I have learned that both the softbox light and ring light are my allies. Here’s a screenshot from a supplemental video I recorded for some of my students. It’s hard to believe that I recorded this at 11 PM. The lighting is pretty bright without making me look washed out.

Recording Day
The first takeaway is that if you’re doing any video recording, you need to have good lighting. It’s much easier to record a video performance or tutorial with good lighting than trying to adjust the lighting in an editing program. Believe me, I first tried the editing route with the Level 10 files but quickly realized that it would be quicker to just re-record.
The second point is this: don’t cheap out on the lighting either. Get the best lighting you can afford. I bought a $39 ring light from Amazon early on in the pandemic. It was so flimsy that it broke after one fall onto carpet. I’m extremely happy with my $60 Ergopixel ring light. The construction is solid, from the tripod to the phone clamp. I can also switch from warm to cool lighting and adjust the intensity.
I recently received a softbox light as a gift. I think I’ll buy a softbox lighting set so I can control the light from different angles.
It’s been fun playing around with my new setup. I still have to do some troubleshooting with my Canon Rebel and figure out how I want to use my new green screen. I’m sure my students will have a few ideas on the latter.
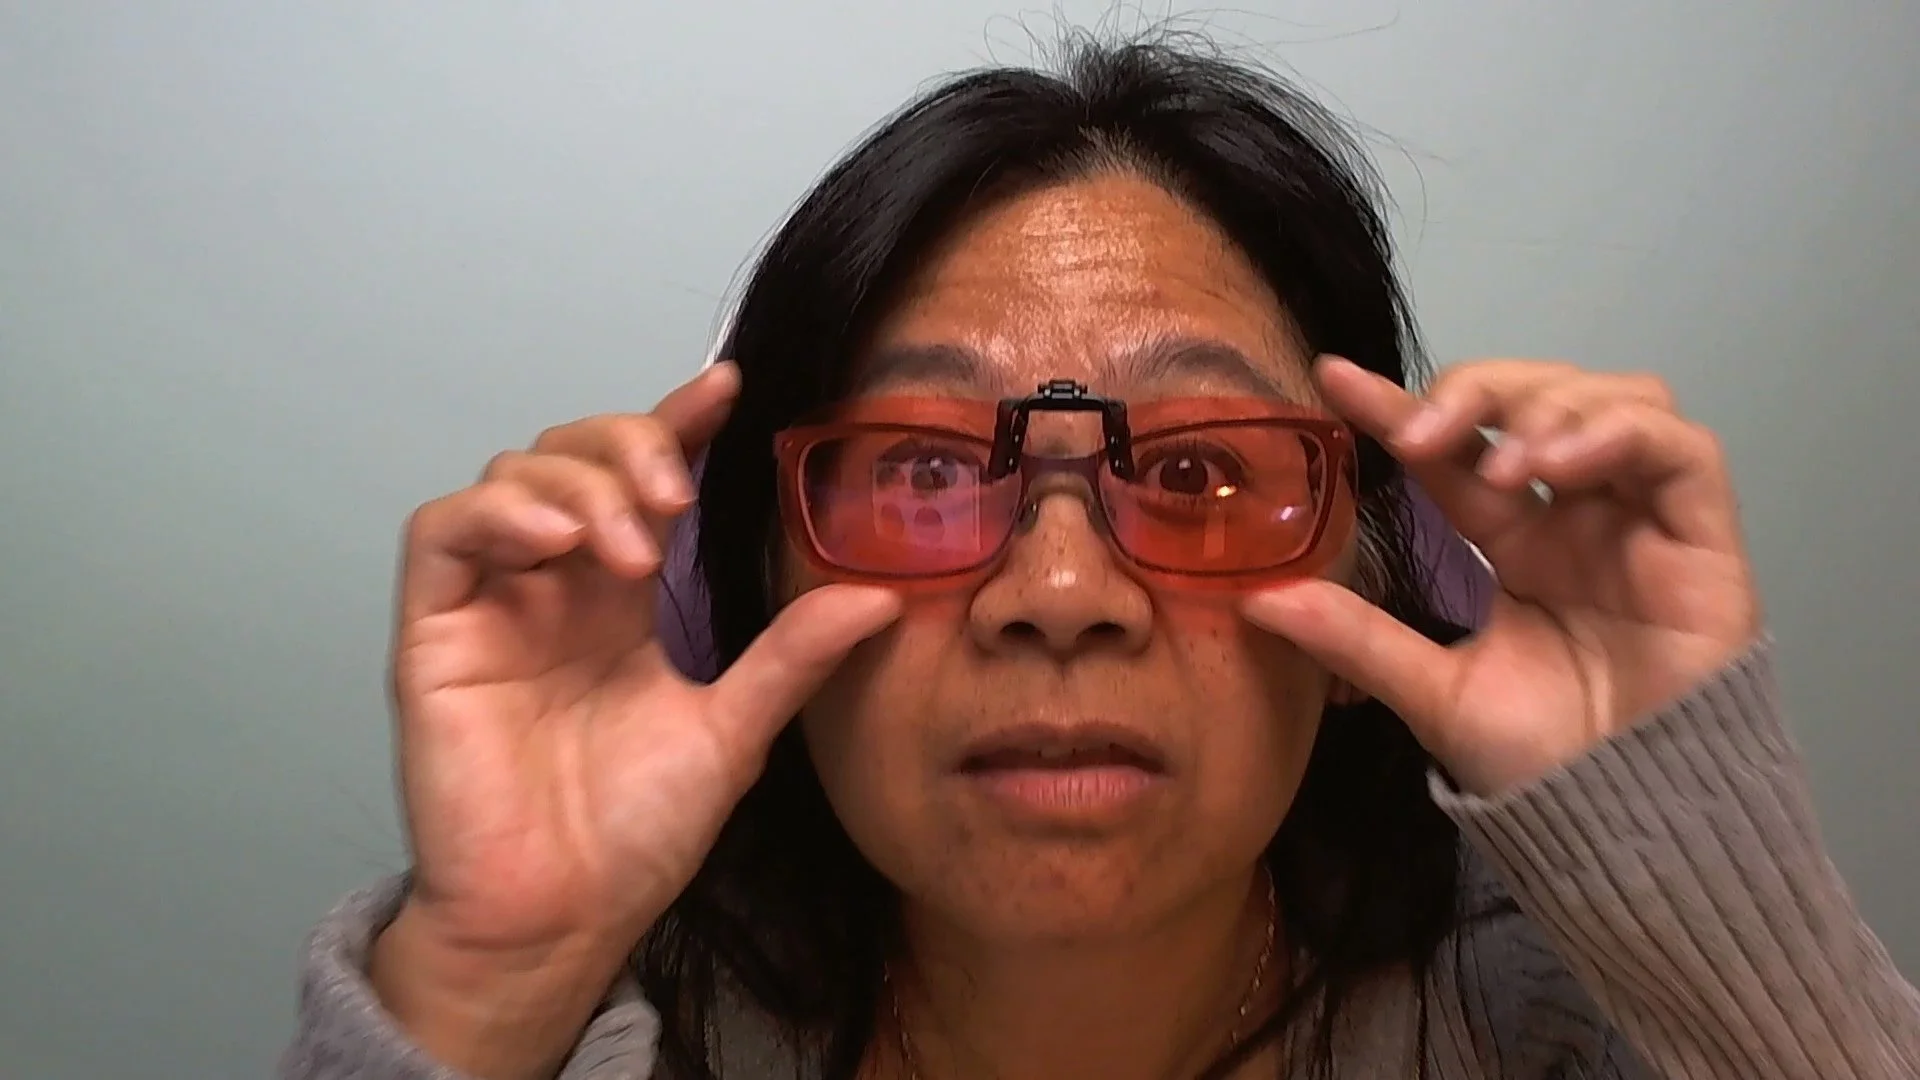
Adventures with Migraine Glasses
This summer has been unusually hot and bright, which hasn’t been good for my light sensitive Migraine Brain. Although I have managed to keep the migraine count down low, it has come at the cost of living like a mole for most of the summer.
I broke down in July and bought two pairs of migraine glasses to try. They block out most of the blue light frequencies that trigger migraines or make them worse. Unfortunately, they both took their sweet time getting here…
This summer has been unusually hot and bright, which hasn’t been good for my light sensitive Migraine Brain. Although I have managed to keep the migraine count down low, it has come at the cost of living like a mole for most of the summer.
I broke down in July and bought two pairs of migraine glasses to try. They block out most of the blue light frequencies that trigger migraines or make them worse. Unfortunately, they both took their sweet time getting here and it was well beyond my martial arts grading prep and grading to be of use during all of our extra practices. I would have been willing to pay extra to get them sooner. Alas, USPS was my only option (and I like them less than Canada Post).
That’s neither here nor there. They have arrived and I am testing them out. So far, so good. Do check out my vlogs below and check my channel for updates:
Axon Optics Cover RX Migraine Glasses
I am so relieved that the Axons arrived first. Am I ever glad I sprung for the transition lenses, so I don’t have to worry about switching back and forth from inside to outside. I rarely go out without them.
The Cover RX glasses set me back $220 USD.
Somnilight Light Therapy Migraine Clip-On Lenses
As much as I’d like put the Axons aside for a week to test these exclusively, Migraine Brain is reluctant to do so. The Axons have the peripheral lenses on the arms, which I find an absolute must outside.
So far, I’ve been using the Somnilight clip-ons when I feel eye strain at the computer. The case and lenses are so slim that I have taken to carrying these in a pocket, ready to slip on whenever needed.
The Somnilight lenses are $79.99 USD regularly but they are currently on sale for $39.99 USD.
Do check out my YouTube channel regularly as I’ll be posting weekly updates for month, and then switching to monthly updates.

My 2022 Migraine Update
In my latest vlog, I show my migraine trackers for 2021 up to May 2022, sharing what changes I have made to help me better manage what I call, “Migraine Brain.” From vitamins to migraine hats, find out how they have changed my life since Winter 2021…
Last year, I shared some of my early steps towards understanding my migraines and working towards mitigating the triggers and symptoms in my June 9, 2021 post, Adventures in Migraine Prophylaxis. I have learned quite a bit in this past year.
In my latest vlog, I show my migraine trackers for 2021 up to May 2022, sharing what changes I have made to help me better manage what I call, “Migraine Brain.” From vitamins to migraine hats, find out how they have changed my life since Winter 2021:
As every migraine is different, I’m still learning and tweaking my migraine management routine.
Fellow migraineurs, what migraine treatments has or hasn’t worked for you? Share them in the Comments below.

Improving Your Audio Quality in your Teaching Studio
Shortly after our October online piano party, one student asked, “Bruh, how come you sounded so clear when the rest of us sounded just okay?”
To which, I replied: “It’s because I didn’t use the device mic.”
“You should write about that. How to improve your sound.”
(Originally published in APTA News & Views)
Shortly after our October online piano party, one student asked, “Bruh, how come you sounded so clear when the rest of us sounded just okay?”
To which, I replied: “It’s because I didn’t use the device mic.”
“You should write about that. How to improve your sound.”
So here I am.
Simple Sound Hacks
Many students and teachers use phones and tablets for online lessons and recording. Technology has come a long way, but I’m sure you have noticed that Zoom and some of the other video conferencing platforms fail to capture the subtle nuances in upper intermediate and advanced repertoire. Choosing “Enable Original Sound” and “High-fidelity Music Mode” only goes so far.
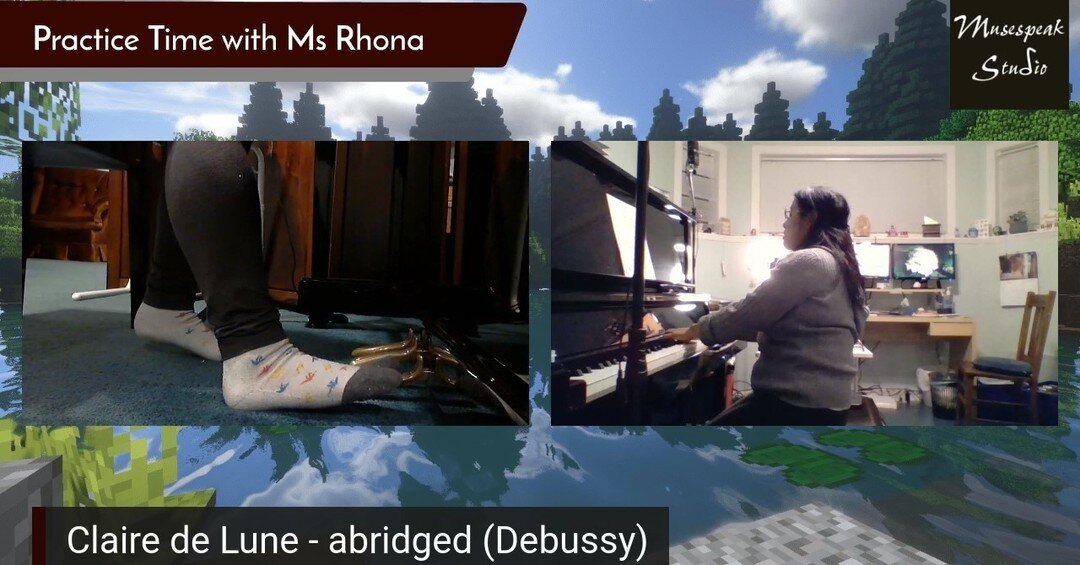
One simple microphone hack you can experiment with is the microphone’s distance from the piano. I’m no physicist or sound engineer, but I have worked enough symphony and jazz concerts at Arts Commons to take note of where the audience and microphones are positioned in relation to the stage. I have used that as my starting point to experiment with.
If you or your student are hearing a lot of sound distortion, chances are, the microphones are too close to the instrument. My students and I have learned that depending upon the piece, the sweet spot for the microphone in a phone, tablet or laptop is anywhere between two to four feet away from the piano and approximately at someone’s ear height when sitting.
The louder the piece, the farther the microphone needs to be. Alternatively, I adjust my students’ microphone volume when we’re livestreaming.

The louder the piece, the farther away the laptop is.
Using earbuds or headphones will help reduce audio echoes when in Zoom, StreamYard, Discord or any online platform. You may need to get a stereo audio extension cable now that your device is farther away. They retail for less than $10.
If a student insists on positioning their device at the edge of the keyboard, you are going to hear a significant amount of sound distortion. One easy hack is to have them place an eraser or something rubbery like a hockey puck beneath their phone or tablet. One of my university professors placed her upright piano on four hockey pucks to dampen the sound transfer from her townhouse unit to her neighbour’s unit below. It worked extremely well.
If there are lot of hard surfaces in your studio or your students’ practice areas, you can experiment with sound baffling to help minimize reverberation. Although there are sound baffle panels and blankets out there, you can easily achieve results by adding more soft materials to the room, such as pillows, blankets and towels, which will absorb the sound.
Levelling Up Your Sound
One thing I learned from livestreaming and producing content for my YouTube Channels is that if you really want better sound, you need to invest in better microphones designed for high-fidelity sound.
I started by using my Zoom H2N surround sound recorder (approx. $230) as a USB microphone, connected to my computer. It has five built-in microphones and four recording modes. You can get recording studio quality with it. There are several newer models that come with many bells and whistles. Perhaps too many, so do check the specifications to see what best fits your needs and your computer’s specifications.
There are five microphones that consistently pop up in “best microphones for music podcasting” searches that are worth checking out. They are the Blue Yeti ($125 and up), the Rode NT USB ($219), the Rode Procaster ($300 and up), the Audio-Technica AT2020USB+ ($219 and up), and Shure MV7 ($229 and up).
The second thing I learned is that if you are doing any piano combo work, be it piano and voice or piano and guitar, each instrument needs its own dedicated microphone. Otherwise, the piano will just drown out everyone else.
The only exception is when I fiddle with the microphone settings. When I teach online, I sometimes use my Razer Blackhawk Gaming Headset (approximately $100). The microphone is on the headset, so my voice is louder than the piano. When using the H2N unit, I adjust the recording mode to 90 degrees X/Y stereo and zero gain (no signal amplification) and position the microphone in front of me (and then just plug in earbuds into my stereo. These adjustments allow the microphone to catch more of my voice than the piano.
If you decide to take the plunge and buy one of these microphones, hop onto YouTube to get more tips and tricks. Check out Bea Chu, Todd Audio, and Christian Henson Music on YouTube.
Earlier this year, I invested in a stereo pair of Lewitt LCT 140 Air:
I was planning on doing an unboxing and review video. This screenshot is from the unboxing. I pretty much started using them as soon as I plugged them in. Hopefully, I’ll get around to completing the unboxing/review, but in the meantime, you can hear what they sound like in these two videos:
Recorded with Sound set to Flat, Filter OFF and Pad set to O. No additional sound FX.
Recorded with same microphone settings, with the addition of Small Stage FX setting on the Mackie.
These days, I use my Shure PG4 Wireless Headset System, AT4040 Condenser Microphone and Sennheiser HD 280 Pro Headphones plugged into a Mackie ProFXv3 Mixer Board for content creation and livestreaming. When recording piano only, then I break out the Lewitts That way, I can really adjust the sound for multiple instruments and add sound effects to make it sound like I’m inside a concert hall or recording studio.
Social Media Links
archives
- #YYCArts 32
- #YYCEvents 39
- Collaborative Music 25
- Community 11
- Composing & Arranging 6
- Entertainment 139
- Entrepreneurship 53
- Freebies 3
- Gardening 1
- Geeking Out 65
- Health & Wellness 120
- Improvisation 25
- Interviews 28
- Learning Music 188
- Martial Arts 13
- Memorization 7
- Music 230
- Music Careers 9
- Music Education 196
- Music Examinations 7
- Music Exploration 55
- Music Gigs 14
- Music Lessons 6
- Music Performance 32
- Music Theory 13
- Musical Instruments 12
- Musician Health 19
- Pets 57
- Piano Technique 12
- Practicing Music 120
- Productivity 20
- Professional Development 11
- Recommendations & Reviews 93
- Recreation 71
- Social Media 6
- Spirituality 10
- Studio Management 33
- Studio Technology 50
- Teaching Music 146
FOLLOW THE STUDIO on Instagram


Affiliate Links
As a Sheetmusicplus and CD Japan affiliate, I earn from qualifying purchases. The earnings help fund the Studio’s blog and YouTube channels. Your support is greatly appreciated.


FOLLOW Budo no Tabi on Instagram