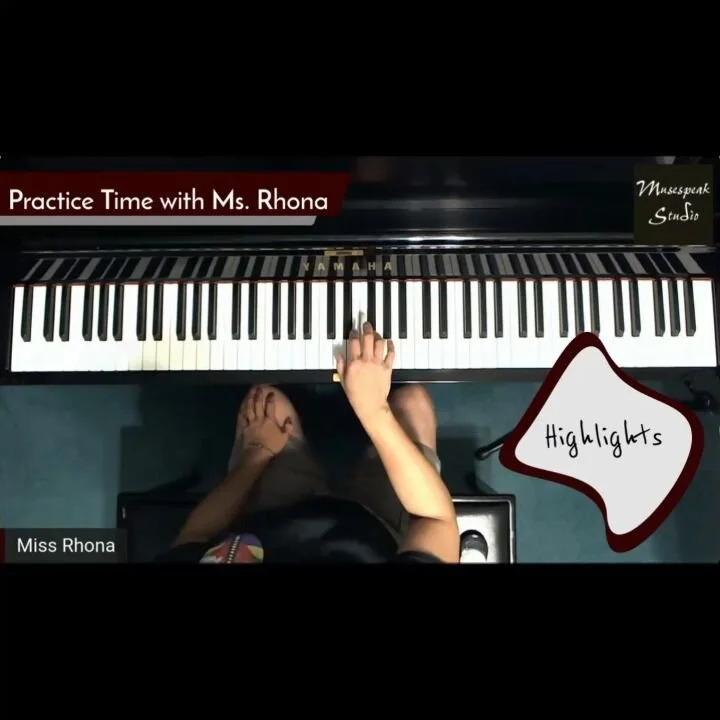
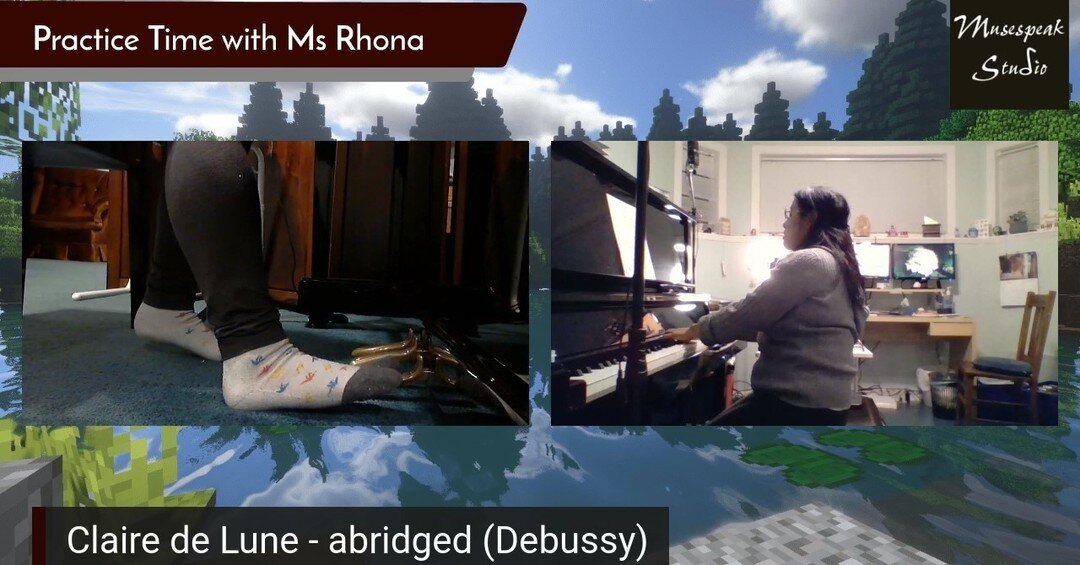
THE MUSICAL MUSE
Blog dedicated to music education, practice tips, health
&
wellness, and geeking out.
Reducing Hand and Wrist Tension at the Piano
Lately, I have been harping on my students about their wrist technique. Some are playing with locked wrists or excess hand tension, even with us working on it during their lessons. The bottom line is that we teachers can only help you so much in a lesson, the rest comes down to how you practice at home.
Here are a few videos by some of my esteemed colleagues on hand and wrist technique:
Irina Gorin and Wrist Relaxation Exercises:
I showed this to an intermediate student. He started to make some progress after viewing this. Irina has more useful videos on her YouTube Channel.
Josh Wright on Reducing Hand Tension
Although he still has some tension (those pesky octaves!), Josh does have some good points. Let's chalk it up to the fact that he's showing you a section that he is working on, so it's a work in progress.
Robert Estrin on Wrist Technique with Octaves:
Robert Estrin has a treasure chest of wonderful piano tutorials on his website. Every pianists should bookmark his site.
The Allan Fraser Institute's Lecture-Demonstration on Hand Tension and Proper Arm Weight Technique
Thanks to Brian Riker for sharing this one.
I promised my students that I would send them some clips to help them play with more relaxed wrists and a less hand tension.
Sometime during Christmas break, I will record some videos in which I deconstruct my piano technique. When I mentioned this to my students, they immediately asked if we could use the GoPro POV camera and the other cameras to film them as well. What a great way to analyze your basic piano technique!
I think I will start using an elastic band. Up to this point, I've either had my students put their hand on mine (or my forearm) to feel the arm weight and tension I use to play their trouble spots. Or, I'll hold their forearm and won't let go until I sense they have relaxed sufficiently.
We've been using imagery a lot too. That's something you might want to try if your teacher hasn't asked you to yet.
Last night, I asked a student to imagine that he was in a pool and he was dragging his arm back and forth in the water. Then, I asked him to imagine that his arms were made of air and that gravity was pulling his hand down towards the keys.
Make sure you stretch regularly to reduce hand tension and prevent musician injuries. Finally, I will leave you with something I say regularly to my students: Spongy wrists, firm fingertips.
How to Play Music Faster
Trying to figure out how to play your technique at the required tempo for your level? Check out these tips on how to play faster.

After Christmas, my students will be doing a Technique Challenge. I still have to finalize the details and incentives, but I can tell you that speed and accuracy will be key criteria to succeeding in this challenge.
To prepare, I thought I would share some tips on how to play the piano really fast. I must say, kudos to Shawn Cheek, Dr. William Leeland, Kenneth T. Rose and Robert Estrin for sharing these videos and article with musicians everywhere.
Piano teacher Shawn Cheek has created a great video on how to play arpeggios (or in proper Italian, "arpeggii") faster:
Now, Mr. Cheek says that you don't need to exercise the left hand like this unless you're doing classical. I disagree. Firstly, it's important for the hands to be balanced and secondly, I actually have used arpeggios in contemporary styles. It all depends on the style, I guess.
[UPDATE] I originally had another video here, demonstrating the "thumb up" and note clumping technique. However, a few of my colleagues caught how immobile the demonstrator's wrist and arm were. I admit, I was focussed on the thumb up and note clumping, so I'm grateful to Arlene Steffen and Rami Bar-Niv for drawing my attention to it.
There is this neat article by Dr. William Leeland about the "thumb under" and "quick hand shift" technique for scales. It is called The Ins and Outs, Twists and Turns of Scale Playing. It contains some videos.
I actually learned about this "quick hand shift" technique from my brother. It has certainly helped me play my scales, chords and arpeggii faster. Some keys are better than others.
Kenneth T. Rose from England wrote a great article, called “How to play faster”. He has other useful tips on his website, World of Piano.
Finally, Robert Estrin of Living Piano has done a fantastic tutorial on how to play piano faster:
I love how Mr. Estrin explains everything step-by-step.
Here's his video on practicing scales and arpeggii:
I am looking forward to trying some of the new tips on how to play the piano faster in my own piano practice.
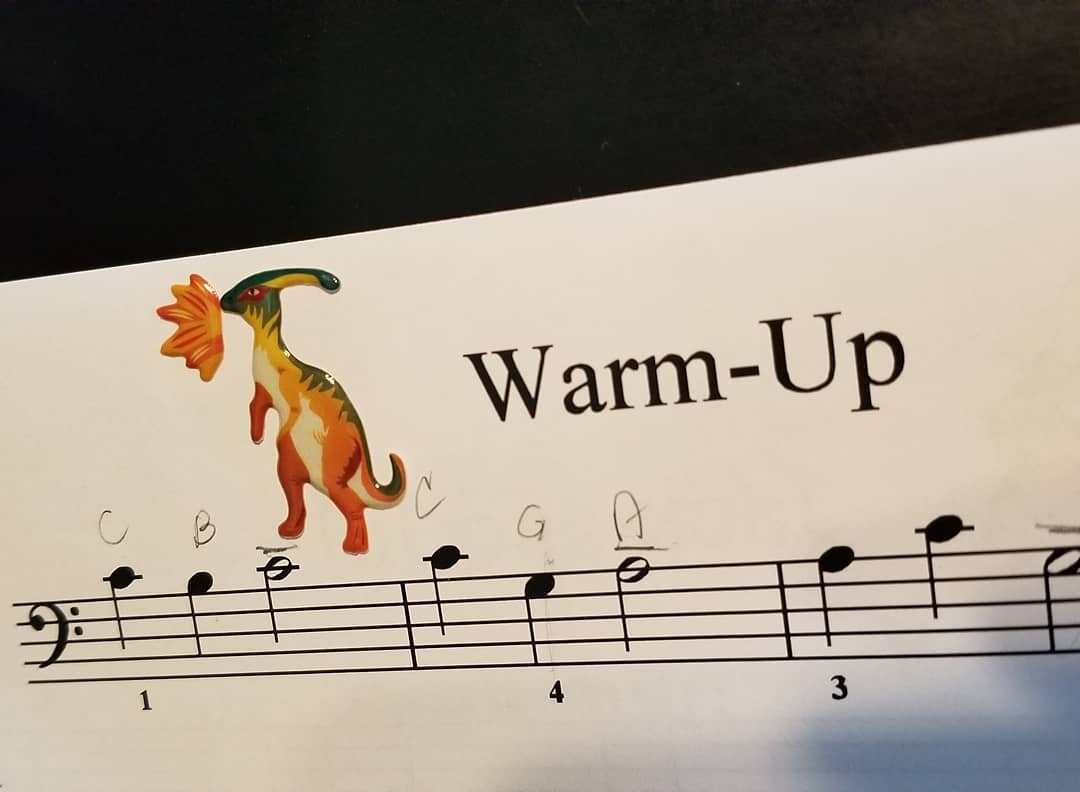
Arpeggio Warm-Up Exercise
This is my fave piano warm-up these days: arpeggios.
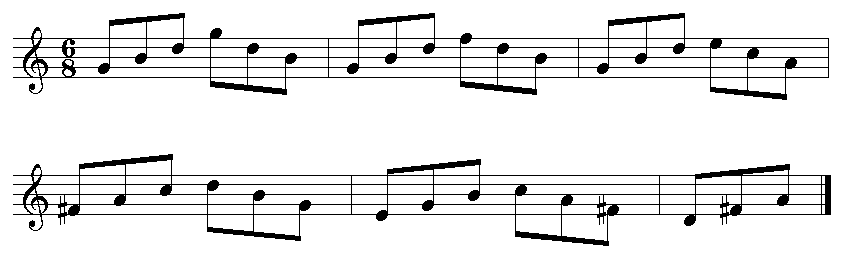
This has been my favourite warm-up exercises lately. After playing the piano for over 30 years, you have to come up with different practice drills to keep things fresh.
First, I start by playing a one-octave arpeggio (eighth notes). I start slowly and as soon as I hear that I'm playing evenly, then I branch out to two octaves (eighth notes), then three (eighth note triplets) and then finally four (sixteenth notes). Sometimes, I have to repeat a particular stage three or more times before I hear that I'm playing evenly.
For an added challenge, I change the articulation: staccato, legato, portato or slurred. Then, for a bonus, each hand will play a different articulation.
Beginner piano students can just stick with one-octave arpeggios. Junior intermediate students can branch out to two-octaves. Upper intermediate students can go up to three octaves, while advanced students should go up to four octaves.
Here's a video demonstration:
Time Saving Technique Practice Idea
Are you stuck between studying for tests and logging in much needed time on practicing technique? Try this idea that came up during one of my lessons last week.
Are you stuck between studying for tests and logging in much needed time on practicing technique? Try this idea that came up during one of my lessons last week:
This student is working on his Grade 8 piano technique. Four octave scales - woohoo?
He played d harmonic minor for the first octave and d melodic minor for the second by accident. Then, I had him play D major for the first octave, d natural minor for the second octave...you get the idea.
Basically in one pass, you practice all the scales you need to know for a traditional music exam. However, to actually hear any improvement, you'll have to play it this way more than once. More than twice.
You can change things up of course. Try this on all the minors (natural, harmonic, melodic, jazz). Or be bold and try these on some of the jazz scales.
The bottom of the white board refers to an idea I think has already been mentioned. Play the ascending scale one way (e.g., major), and the descending scale another way (e.g. harmonic minor).
You have to be awake to do this kind of practice. Well really, we should be all striving for mindful practice anyway...right?
Practicing Piano Technique by the Root
This is more for the advanced students, music teachers and anyone who wants to learn jazz chords and scales. Instead of practicing your technical exercises by key, practice them by their shared root. For example, play through:
This is more for the advanced students, music teachers and anyone who wants to learn jazz chords and scales. Instead of practicing your technical exercises by key, practice them by their shared root. For example, play through:
C major Scale
C major Modes
C minor Scales (natural, harmonic, melodic, jazz minor)
C minor Modes
C Penatonic Scale
C Blues Scale
C Whole Tone Scale
C Octatonic Scale
C major tonic chord/triad
C minor tonic chord/triad
C7 (dominant 7th of F major)
Cm7 (ii7 of B-flat major)
Cm7(♭5) (viiø7 of D-flat major)
Cdim7, A.K.A. B#dim (viio7 of D-flat/c# minor)
and so on.
This was one of the first things I learned when I took jazz piano lessons with jazz pianist, clinician, adjudicator and examiner Derek Stoll.
Social Media Links
archives
- #YYCArts 32
- #YYCEvents 39
- Collaborative Music 25
- Community 11
- Composing & Arranging 6
- Entertainment 139
- Entrepreneurship 53
- Freebies 3
- Gardening 1
- Geeking Out 65
- Health & Wellness 120
- Improvisation 25
- Interviews 28
- Learning Music 188
- Martial Arts 13
- Memorization 7
- Music 230
- Music Careers 9
- Music Education 196
- Music Examinations 7
- Music Exploration 55
- Music Gigs 14
- Music Lessons 6
- Music Performance 32
- Music Theory 13
- Musical Instruments 12
- Musician Health 19
- Pets 57
- Piano Technique 12
- Practicing Music 120
- Productivity 20
- Professional Development 11
- Recommendations & Reviews 93
- Recreation 71
- Social Media 6
- Spirituality 10
- Studio Management 33
- Studio Technology 50
- Teaching Music 146
FOLLOW THE STUDIO on Instagram


Affiliate Links
As a Sheetmusicplus and CD Japan affiliate, I earn from qualifying purchases. The earnings help fund the Studio’s blog and YouTube channels. Your support is greatly appreciated.


FOLLOW Budo no Tabi on Instagram