THE MUSICAL MUSE
Blog dedicated to music education, practice tips, health
&
wellness, and geeking out.

Improving Your Audio Quality in your Teaching Studio
Shortly after our October online piano party, one student asked, “Bruh, how come you sounded so clear when the rest of us sounded just okay?”
To which, I replied: “It’s because I didn’t use the device mic.”
“You should write about that. How to improve your sound.”
(Originally published in APTA News & Views)
Shortly after our October online piano party, one student asked, “Bruh, how come you sounded so clear when the rest of us sounded just okay?”
To which, I replied: “It’s because I didn’t use the device mic.”
“You should write about that. How to improve your sound.”
So here I am.
Simple Sound Hacks
Many students and teachers use phones and tablets for online lessons and recording. Technology has come a long way, but I’m sure you have noticed that Zoom and some of the other video conferencing platforms fail to capture the subtle nuances in upper intermediate and advanced repertoire. Choosing “Enable Original Sound” and “High-fidelity Music Mode” only goes so far.
One simple microphone hack you can experiment with is the microphone’s distance from the piano. I’m no physicist or sound engineer, but I have worked enough symphony and jazz concerts at Arts Commons to take note of where the audience and microphones are positioned in relation to the stage. I have used that as my starting point to experiment with.
If you or your student are hearing a lot of sound distortion, chances are, the microphones are too close to the instrument. My students and I have learned that depending upon the piece, the sweet spot for the microphone in a phone, tablet or laptop is anywhere between two to four feet away from the piano and approximately at someone’s ear height when sitting.
The louder the piece, the farther the microphone needs to be. Alternatively, I adjust my students’ microphone volume when we’re livestreaming.

The louder the piece, the farther away the laptop is.
Using earbuds or headphones will help reduce audio echoes when in Zoom, StreamYard, Discord or any online platform. You may need to get a stereo audio extension cable now that your device is farther away. They retail for less than $10.
If a student insists on positioning their device at the edge of the keyboard, you are going to hear a significant amount of sound distortion. One easy hack is to have them place an eraser or something rubbery like a hockey puck beneath their phone or tablet. One of my university professors placed her upright piano on four hockey pucks to dampen the sound transfer from her townhouse unit to her neighbour’s unit below. It worked extremely well.
If there are lot of hard surfaces in your studio or your students’ practice areas, you can experiment with sound baffling to help minimize reverberation. Although there are sound baffle panels and blankets out there, you can easily achieve results by adding more soft materials to the room, such as pillows, blankets and towels, which will absorb the sound.
Levelling Up Your Sound
One thing I learned from livestreaming and producing content for my YouTube Channels is that if you really want better sound, you need to invest in better microphones designed for high-fidelity sound.
I started by using my Zoom H2N surround sound recorder (approx. $230) as a USB microphone, connected to my computer. It has five built-in microphones and four recording modes. You can get recording studio quality with it. There are several newer models that come with many bells and whistles. Perhaps too many, so do check the specifications to see what best fits your needs and your computer’s specifications.
There are five microphones that consistently pop up in “best microphones for music podcasting” searches that are worth checking out. They are the Blue Yeti ($125 and up), the Rode NT USB ($219), the Rode Procaster ($300 and up), the Audio-Technica AT2020USB+ ($219 and up), and Shure MV7 ($229 and up).
The second thing I learned is that if you are doing any piano combo work, be it piano and voice or piano and guitar, each instrument needs its own dedicated microphone. Otherwise, the piano will just drown out everyone else.
The only exception is when I fiddle with the microphone settings. When I teach online, I sometimes use my Razer Blackhawk Gaming Headset (approximately $100). The microphone is on the headset, so my voice is louder than the piano. When using the H2N unit, I adjust the recording mode to 90 degrees X/Y stereo and zero gain (no signal amplification) and position the microphone in front of me (and then just plug in earbuds into my stereo. These adjustments allow the microphone to catch more of my voice than the piano.
If you decide to take the plunge and buy one of these microphones, hop onto YouTube to get more tips and tricks. Check out Bea Chu, Todd Audio, and Christian Henson Music on YouTube.
Earlier this year, I invested in a stereo pair of Lewitt LCT 140 Air:
I was planning on doing an unboxing and review video. This screenshot is from the unboxing. I pretty much started using them as soon as I plugged them in. Hopefully, I’ll get around to completing the unboxing/review, but in the meantime, you can hear what they sound like in these two videos:
Recorded with Sound set to Flat, Filter OFF and Pad set to O. No additional sound FX.
Recorded with same microphone settings, with the addition of Small Stage FX setting on the Mackie.
These days, I use my Shure PG4 Wireless Headset System, AT4040 Condenser Microphone and Sennheiser HD 280 Pro Headphones plugged into a Mackie ProFXv3 Mixer Board for content creation and livestreaming. When recording piano only, then I break out the Lewitts That way, I can really adjust the sound for multiple instruments and add sound effects to make it sound like I’m inside a concert hall or recording studio.

My Studio Tech Setup (2020 edition)
My journey with studio technology really took off in 2012 with Eric Whitacre’s Virtual Choir 3.0: Water Night. Virtual Choir opened the doors to experimenting with multiple cameras, audio and video editing projects, and live streaming.
When we switched to online music lessons due to the pandemic, I simply dusted off some of the equipment and away we went. Since then, I have upgraded and added a few new items to my studio tech setup. Read on:
Platform for Online Lessons
Initially, I offered online lessons via Facebook Messenger, Skype, and Zoom - whatever my students preferred. As time went on, we stuck with Zoom, as it seemed the most stable of the three. However, the sound quality drove me nuts.
Then, I discovered StreamYard. StreamYard is a web-based video streaming service. Basically, my adventures with the Music Ministry Hour live streams prepared me to organize live streamed recitals for my students.
The sound quality is just fabulous. Hear for yourself:
We switched to StreamYard for lessons in May. However, StreamYard did have its limitations as a piano lesson platform. In the end, I decided to go back to Zoom in the fall for online music lessons, utilizing the full screen views, Share Screen tools and Breakout Rooms. I continue to use StreamYard for live streaming recitals, pre-recording studio performances, and content creation (but that’s a post for another day).
Tech Setup for Online & In Person Lessons

First Week of Lessons. Photo by R-M Arca.
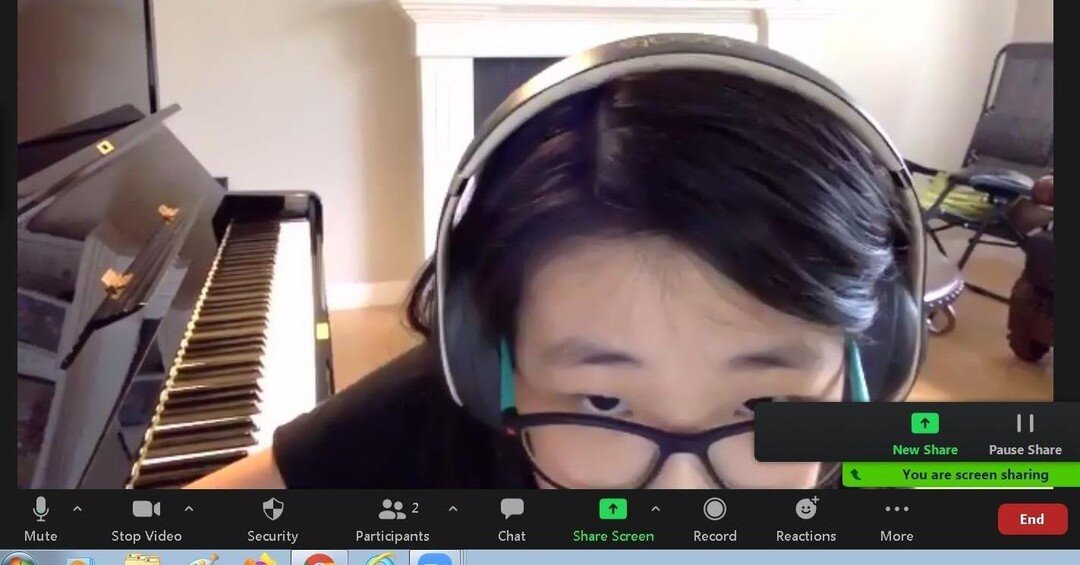
I use my studio Asus desktop exclusively for teaching. It is connected to the Internet via ethernet cable. One computer monitor is the dedicated Zoom monitor, while the second screen is for everything else - typing up homework, sharing videos, etc. I toggle between three webcams as needed:
Pedal Cam: Logitech C270 HD Webcam ($39.99 CAD & up)
Profile Cam: Logitech C910 HD Pro Webcam (discontinued by manufacturer)
Overhead Cam: Logitech C920 HD Pro Webcam ($140 CAD & up)
The Overhead Cam is attached to a microphone stand ($25.99 CAD & up on Amazon.ca and Long & McQuade) via a camera Digital Recorder Adapter ($15.99 CAD & up on Amazon.ca and Long & McQuade). The Pedal Cam is attached to an old mini-tripod with gaffer tape, while the Profile Cam sits atop the dedicated Zoom monitor.
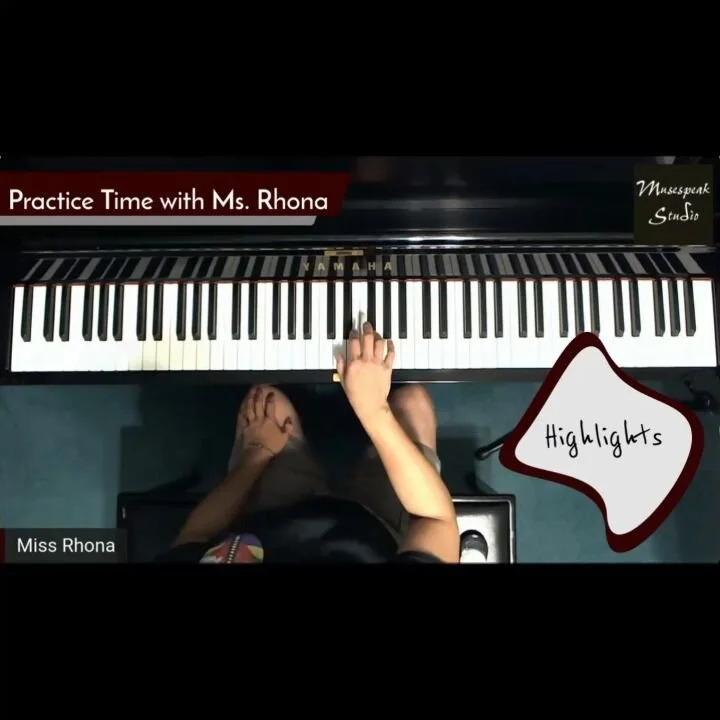
I initially used my Zoom H2N Handy Recorder ($229.99 CAD, available on Amazon.ca and Long & McQuade) as an input mic and Sennheiser HD 280 Pro Headphones ($129.00 CAD & up on Amazon.ca and Long & McQuade). Now that I’m dedicating more time to content creation and the Practice Time with Ms. Rhona live streams, I’ve reallocated equipment and now use my Turtle Beach Gaming P11 Headset ($39.99 CAD & up) for online teaching.
Over the summer, I picked up a 10” Ring Light with Tripod and Smartphone Holder ($39.99 CAD & up), which has been working quite nicely.
For in-person lessons, I utilize the Overhead Camera via StreamYard to check my students’ fingering. The dedicated Zoom monitor is used to display the Overhead Camera view, while the second monitor is used to type up assignments.
Tech Setup for Live streaming and Content Creation
Initially, I used my desktop, Zoom H2N Handy Recorder and Sennheiser headphones for live streaming and content creation. It worked quite well, but soon, I added my Asus Tuf Gaming laptop to the mix so that I could offer two simultaneous camera views during live streams and videos, as well as toggle between four cameras. The laptop also connects to the Internet via Ethernet cable for a more stable connection.
At the beginning of the school year, I picked up a Mackie ProFX6v3 Mixer Board for $214.99 CAD from Long & McQuade. It’s also available on Amazon.ca. That way, I could attach my old Shure Wireless Headset Mic ($50.99 CAD & up from Amazon.ca and Long & McQuade) and AT4040 Condenser Microphone ($449.00 CAD & up at Amazon.ca and Long & McQuade). More importantly, I could monitor my sound via my Sennheisers in real time as StreamYard lacks that capability.

My live streaming setup one week.
Depending upon the video project, I utilize digital cameras in addition to the webcams, along with my Rode VideoMic GO Lightweight On-Camera Microphone - VMGO ($139.99 CAD on Best Buy and Amazon). I plan to add the H2N Zoom Recorder to the mobile gear kit.
Check out my Studio Tech vlog below for a tour:
What are your favourite studio tech tools? Let me know in the Comments.
***
DISCLAIMER: This post contains Amazon affiliate and StreamYard referral links. If you click on a product link and make a purchase the Studio will receive a small commission. Thank you for supporting the Studio’s YouTube channel and blog
Social Media Links
archives
- #YYCArts 32
- #YYCEvents 39
- Collaborative Music 25
- Community 11
- Composing & Arranging 6
- Entertainment 139
- Entrepreneurship 53
- Freebies 3
- Gardening 1
- Geeking Out 65
- Health & Wellness 120
- Improvisation 25
- Interviews 28
- Learning Music 188
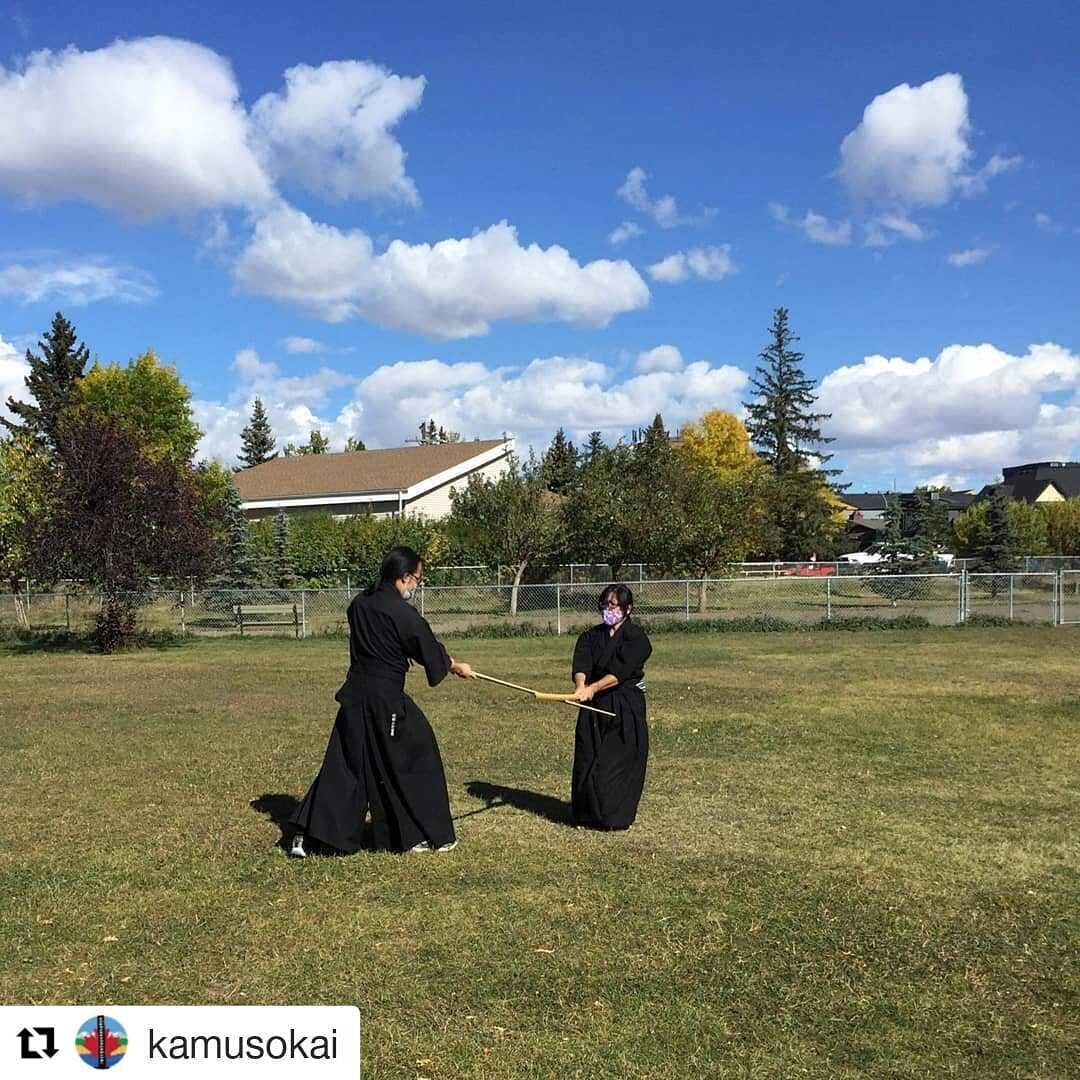
- Martial Arts 13
- Memorization 7
- Music 230
- Music Careers 9
- Music Education 196
- Music Examinations 7
- Music Exploration 55
- Music Gigs 14
- Music Lessons 6
- Music Performance 32
- Music Theory 13
- Musical Instruments 12
- Musician Health 19
- Pets 57
- Piano Technique 12
- Practicing Music 120
- Productivity 20
- Professional Development 11
- Recommendations & Reviews 93
- Recreation 71
- Social Media 6
- Spirituality 10
- Studio Management 33
- Studio Technology 50
- Teaching Music 146
FOLLOW THE STUDIO on Instagram

Affiliate Links
As a Sheetmusicplus and CD Japan affiliate, I earn from qualifying purchases. The earnings help fund the Studio’s blog and YouTube channels. Your support is greatly appreciated.


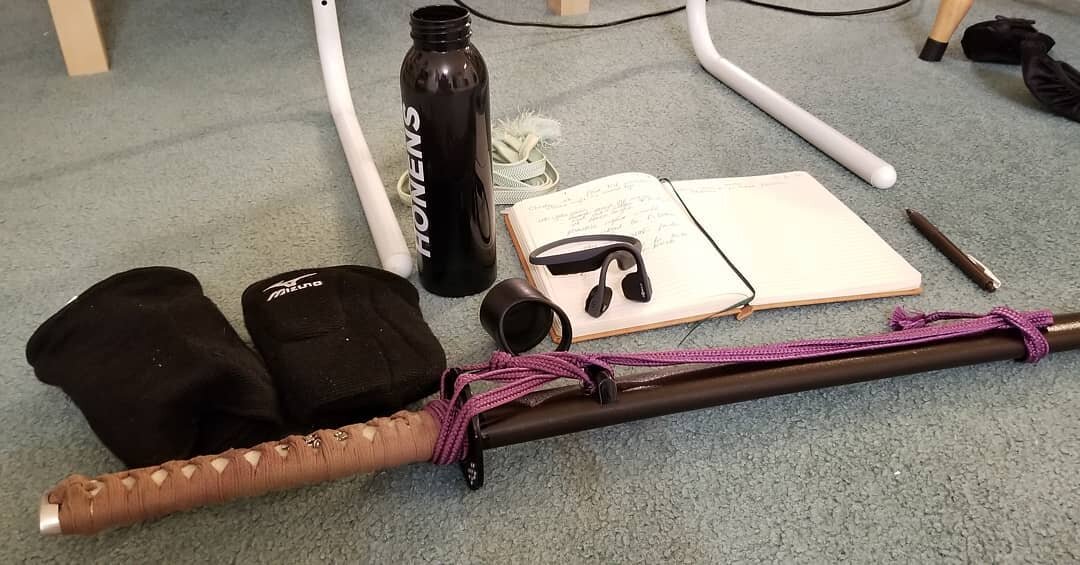
FOLLOW Budo no Tabi on Instagram